Wednesday 27 January 2016

Mustard Pants (Burda 7214)

Yesterday was a public holiday in Australia, and although the weather was fine and going to the beach on Australia Day is a very Australian tradition, my kids wouldn't have a bar of it.  The new school year is about to start. and I suspect they are trying to eke the holidays out for as long as possible by avoiding doing fun stuff; everyone knows time flies when you're having fun!

No matter; I spent the day sewing, and finally managed to finish off a pair of pants started ages ago and very nearly finished in December.

This is how they were looking in December - so, so, SO close to done!  All that remained to do was the buttonhole and button:


The pants are now finished, and I'm pleased they're done, but putting them on again reminded me why I hadn't finished them earlier - I don't like them. The colour is not doing me any favours, and the fit on my backside is not good at all.

The fit seems to have got worse since December - it could be that I've changed weight (probably) but it could also be that ironing the pants stretched out the fabric in the backside.

Let me show you how they were looking yesterday afternoon:


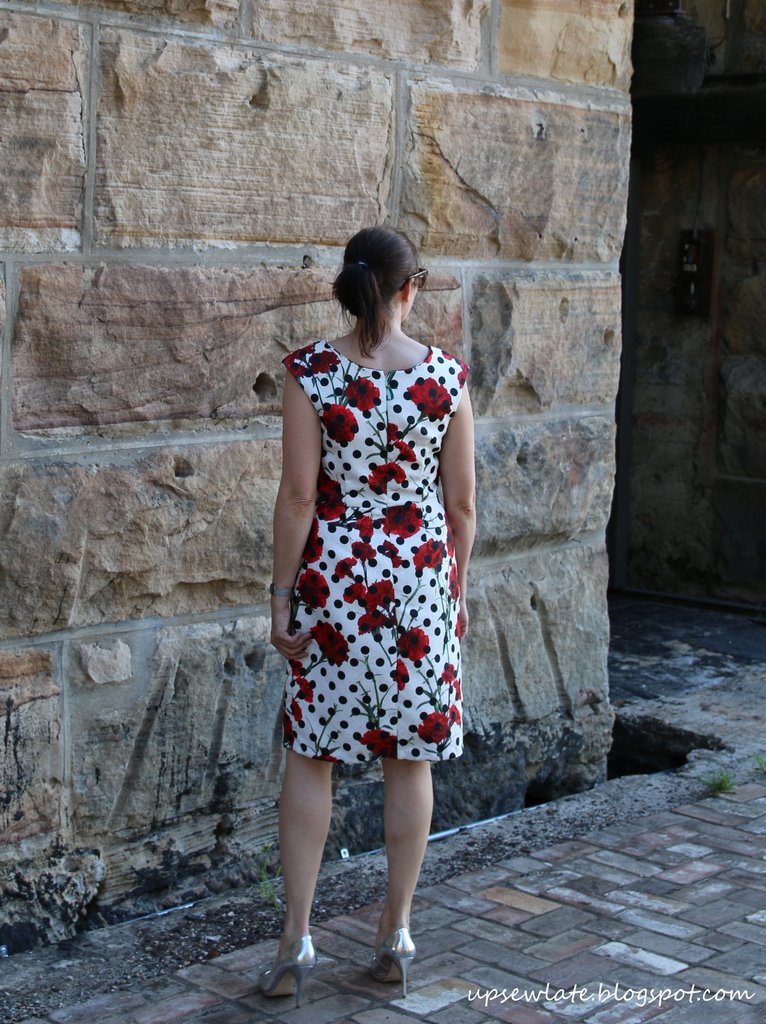
In these front / side views you can see the front crotch curve is too long; that's why I get a fold of fabric on my upper thigh when I move:


There's also a lot of wrinkling on the side seams. The wrinkling alongside my knees is fine, but the wrinkling at top of my thighs unfortunately relates to the problem at the back of the pants:


There's a lot of extra fabric there - my backside is flatter than the pattern :(. 

I know what to do to fix these issues; I had to work on exactly the same problems when I did a pants fitting class using a Vogue pattern. I wish I'd compared the Burda pattern pieces to the Vogue ones I'd adjusted to fit, but I was too lazy! Next time... 

Although I'm not very happy with the fit of these pants on me, I think this is a terrific pattern, and I've seen it look great on many others.  I really like the proportions of the waistband and yoke (I hate a long yoke!), and the order of construction is very sensible, allowing you to take the pants in to fit at the CB seam rather than just the side seams. 

Speaking of taking in, I should mention the adjustments I made to view A of this pattern. I started with a size 40 (EUR)/ 14 (US), corresponding to my measurements, and then I: 
  1. lengthened the legs (I don't recall how much, but it would have been at least 5 cm for my 174 cm height);
  2. omitted the knee patches;
  3. omitted the zips on the lower leg side seams;
  4. omitted the zips just below the front pockets; 
  5. omitted the belt carriers because I wasn't liking the pants enough to bother - though if I'd ended up liking these, a belt would have been useful, as the pants sit at the low waist;
  6. took in the pants at the side seams by 1 cm for the full length of the pants, suggesting I should have gone down a size;
  7. took in the pants at CB by another 1 cm, tapering to nothing at the junction with the CF seam; and
  8. removed 3.5 cm in the height of the pockets after pinning the originals in place, ready to top stitch. On fitted pants, my preference is for the back pockets to finish ON the backside, and not encroach into thigh territory. For someone with more curve in their backside than me the original pockets should have been fine. 

There's one other part of the pattern I'd change if I made these again, and that's the front pockets. The pocket bags are deep and their outlines show through the front legs in my stretch cotton, so next time around I'd make the pocket bags from a much lighter fabric and perhaps also make the pants themselves from a heavier fabric.  I'd also change the shape of the pocket opening, as I find it quite low and very wide - I prefer a smaller opening to that pocket.

I'll leave you now with some "in the flat" photos so you can see the details properly, including my dodgy repair to the inside of the waistband at CB where I'd accidentally snipped away fabric, and the place where I left the seam finishing too late:  


Happy sewing!


- Gabrielle x


Saturday 23 January 2016

Japanese Seersucker Check Gabby


Most New Year's Eves, we catch up with cousins, aunts and uncles over a quick glass of champagne before walking to the water's edge to watch the early fireworks across Sydney Harbour.  I know it sounds posh, but it's still a casual sort of get-together, so this year I decided to whip up a quick top for New Year's Eve with some pretty fabric that had attracted me in Tessuti Fabrics.  I gave myself heaps of time - more than two days! - and set to it. 

I had a few pattern options in mind, but the one I ended up sewing was the Gabby dress, cut (obviously) to top length.  It might even be a tad short to tell you the truth, but there's no spare length in that hem, as once again I didn't buy quite enough fabric...


... to the point where I had to make a sneaky join in the back of the top - which you'll be able to see in the close up:


When it was nearly sewn, I knew I liked it, but I wasn't sure I'd like it on - sometimes seersucker looks like a child's fabric - but no, I love it.  I love the wavering blue lines of the check, the slightly vintage vibe of the fabric, and its lightness in our humid weather. I think that by making a top rather than a dress I've steered clear of childishness, and closer to the "hip" end of the style scale. Which is all good. And I was going to wear it for New Year's Eve, hooray!

But then Mr UpSewLate reminded me that our usual hosts were away, and we decided to go to a different spot that provides great views after a bush walk in the dark, and I decided to avoid not catching my new top on a pointy branch in the dark and ripping it by not wearing it straight away.

Anyway, I've been wearing the top LOTS ever since - with these jeans, but not the heels. It doesn't need heels! I can't remember why I was wearing heels for these pictures (taken a few weeks ago at the very start of the year) but it may well have been just the joy of the new silver shoes that I'd been hoping to take for spin on New Year's Eve.


I only wish I'd bought enough fabric for matching 3/4 length pants, but I guess that's still possible... 


I should give you the sewing details, shouldn't I? 

I cut this out in a size S, which is my usual Gabby dress size (I've made it before in a starry blue version, a striped stretch version that's now an awesome top, a paint splat Nani Iro version, and a red and white picnic version). The dress is quite flared, and I left that flare in the top to keep it super airy. Sewn and overlocked with white thread, hemmed with matching blue on the outside. 

There's self fabric bias binding for the neckline, made by just folding and pressing with the iron, and I didn't even miss the Clover contraption that's been put away god knows where.  The checks on the side seams don't match up (they're offset by a 1/2 repeat), but who cares; the shoulders are satisfyingly symmetric! 


It's simple but I love it.


The End.


Happy sewing!  


- Gabrielle x

Saturday 16 January 2016

Carnations and Polka Dots

What comes first, the fabric or the pattern?

It's not always clear, but this time around the answer is obvious, isn't it:


On Frocktails weekend last year, Sarah introduced me to Darn Cheap Fabrics in person, and I discovered that many of their fabrics are not at all cheap looking.  Many of them looked surprisingly like Dolce & Gabbana fabrics - this fabric is one I recognised immediately.


For me this was one of the more memorable prints from D&G's Spring 2015 RTW collection.  And post catwalk, all kinds of lovely uses for the print were turning up: shirts and dresses in the damask-style fabric that I've used, dresses in a summery poplin version of the print, luxurious silk chiffon dresses for children and adults, swimmers, handbags...


In an effort to restrain myself I only bought 1.5 metres of this fabric - what a fool!  I felt like kicking myself later when I realised 1.5 metres was going to be nowhere near enough for the long sleeved fitted dress I'd been imagining :(.   Top tip for future Gabrielle: check fabric widths vs daydreams. 

Of necessity, I've ended up with this - a simplified version of Vogue 1120; a sleeveless dress which is perfect for summer and perfect for work:  


My mum took these lovely photos for me last Sunday - what a star!  I normally end up having to take a hundred or more remote control photos of myself to get a few that look OK, but mum's photos were ALL great and the process was a lot less embarrassing than usual :). And for a change, the location isn't my garden! Obviously my garden is incredibly convenient, but I feel like the neighbours must be rolling their eyes and shaking their heads in unison at my ongoing narcissism by now, and that's even more embarrassing that taking photos in public places. 

By the way, if you recognise the location, please don't spill the beans - I want to go back there for future blog photos! 


My previous version of this dress, a party frock, was made back in 2011.  That version was true to the pattern, pleats and bow included, but was a bit wide in the neckline and slightly loose. This time around I raised the neckline all around by about an inch, and used the lining pattern pieces for the outer dress, skipping the pleats and bow of the original.  I also left off the lining - the fabric is beefy enough not to need lining - and cut all-in-one facings for the dress front and back (well one piece for the front, and a piece each for the two sides of the dress back).  The only other modification I made was to lengthen the dress as much as I could, about 5 centimetres of extra fabric I think, and to then make as narrow a hem as possible using bias binding so as to eke out a little more length.

I forgot to get a photo of the inside of the dress for you, but I hand stitched the hem using a lovely contrasting satin bias binding - it's shiny and black, and I love the way it looks against the matt white underside of the dress. 

The dress does up very simply with an invisible zip in centre back - and yes, my waist seam aligns properly on either side of the zip :). 


If you skip the pleats and bow and use the lining pattern pieces, Vogue 1270 is quite a streamlined garment.  The shoulder shaping gives a small capped sleeve, which I really like, and I think it goes very well with the curve of the neckline.  If you don't have particularly wide shoulders, raising the neckline an inch all round ensures bra strap coverage without losing the pretty curve. The front bodice lining includes bust darts and waist darts, and the although the skirt shape is straight, it has enough width for walking ease without a vent.  


There are a couple of small issues with my dress - three actually - but they don't bother me much! 

One issue is that I didn't take turn of cloth into account when I cut out and sewed the facings in place. The result is that the dress looks to have piping around the neckline and armholes where you see the facing fabric :). I should probably have used a lighter fabric instead too. 

The second issue is that the dress is a bit on the loose side. I didn't read my own 2011 blog post about my earlier version of the dress, and when I cut this out I just automatically cut it out as a size 12 in the bodice, and a size 14 from the waist down (my usual Vogue designer pattern sizes, though I often downsize the upper bust / shoulders to a size 10).  I don't know that the looseness is particularly noticeable to others, and it certainly keeps the dress comfortable in the heat, but if I make this pattern again I really should size down throughout. 

Oh and the third issue - well does anything about the print annoy you when you look at this dress? I expected the polka dots to be printed parallel to the grain of the fabric - they're not!  To me, the dots look as though they should align with the hemline, perhaps with a nice clear diagonal line running across the print too. They don't! 


You'd probably already noticed those three issues, and perhaps they'd annoy you, but they don't bother me.  I'm not aiming for perfection these days; I'm simply aiming for clothes I want to wear, and this dress definitely fits the bill - I wore it to work the day after taking these pictures, and I'm planning on wearing it at least once a week for as long as the weather is warm enough. 


Thanks for reading, and I hope you're all having lots of success with your sewing machines!


See you soon


- Gabrielle x

Sunday 10 January 2016

2015

Happy New Year everyone! 

In the sewing blog tradition, I'm going to look back through my 2015 blog posts and pick out the hits and misses - what really got worn, what was loved, and what simply didn't work. 

This year I feel like I had a lot of misses.  Apart from the garments I'm listing as certain misses there were several more that I'm in two minds about - for example there were a few where the fit wasn't good but the fabric was awesome, and a few more where I wasn't sure whether the "look" of the garment was my kind of look, even though it was perfectly fine as a garment. 


Hits

Love it but wear it only occasionally:

I don't think I've EVER worn this out! It's too sexy for work with its very low cut underarms and fit, but surely there's got to be an occasion for this dress? 2016, I'm looking at YOU!!


My frocktails cape and dress - of course! I love these both so much...  I've worn the dress out to dinner a few times, but the cape had its only ever outing in Melbourne at Frocktails last year.  Sadly every time I've got it out of the wardrobe I've put it straight back, thinking "oh no, what if I drip soy sauce on it!".  This year I'm going to resolve to wear the cape out at least a few times, and either steer clear of messy food or try to become more zen about food stains.  


And this one - as loud as I am quiet! Well, when you first meet me, and sans alcool! This one turned out just as I'd envisaged it. I've worn this out a few times in broad daylight and it's been a fun dress to wear - woo hoo for statement clothes!


Love it and wear it heaps:

This Vogue top - the perfect weight for weather that's just a tad chilly, and in several of my favourite colours!  I wear this lots, and it always feels special.  


Oh and this Ruby top, which is beautifully airy when the weather is hot and sticky. And because the outer fabric is seersucker it doesn't need too much work from the iron to look fresh and lovely.  


This top and skirt set make me feel like I'm on holiday somewhere slightly fancy.. so I'm wearing them as much as possible...   


Practical is my middle name:

Sometimes the useful stuff is not particularly exciting. This "miaow" top was supposed to be test top, but has already become a wardrobe staple; and the skirt refashion saw a never worn dress turn into a garment that garners compliments just about every time I wear it (which is often). 


This simple Vogue jacket is ideal for Sydney's mild winters, and the aubergine / purple fabric seems to go with most things in my winter wardrobe. 


Misses

Fabric woes:

I wish, wish, WISH I had waited to find some proper fabric before making this "deckchair" dress. The fabric is just so awful (thank you Lincraft) that I didn't even let this dress enter my wardrobe :(. 


This painterly fabric looked good but sewed badly, and the wrinkles you can see in the blog photos never went. I wore this dress several times till I realised I'd be embarrassed to tell a colleague I'd made it. It's gone.    


I quite liked this jungly fabric, but not enough to want to wear it. Every time I looked at the top I thought of the plain white cotton top I really wanted to make from the pattern... And then when I wrote that post on vents I noticed how bad these vents looked! Gone... 


My New Year's resolution is fit:

OK, so these shorts also tell the story of inappropriate (interior decorating) fabric, but the main problem is that they're too tight. They probably fit me now, but I don't need disco shorts. 


Ah Inari, why do you TAUNT me so??  I chose the wrong fabric (no drape), but really, the pattern didn't fit me very well...


Sometimes a dress is really a top - or a cushion - in disguise: 

This merino dress is very handy when I'm cold but I hate the way it looks - too clingy and a dowdy length. For next winter I want to turn it into a top and a lined, elastic waist skirt. 


And I love the Gabby dress pattern and LOVE the Nani Iro fabric, but together they seem to jar. I think the fabric would be better on a child - or a cushion. I might be able to get two cushions even... 


How was your sewing year? Did you have more hits than misses? Any surprises? 

Aside from what you've seen on this blog, 2015 was a very social year for me. I'm pretty active on Instagram, and I've been meeting up with lots of sewing people in real life - I hope 2016 can be just as much fun :).

------------------------

I've been sewing up a storm over the Christmas / New Year break and have lots to blog, so I'll be back soon! 


- Gabrielle xx


Related Posts Plugin for WordPress, Blogger...