Another summery dress - heatwave, anyone?
My latest dress (yes, there do seem to be
a lot of dresses in this neck of the woods) is a Vogue designer pattern - but for a change from those Donna Karan patterns I usually favour, this one's by Kay Unger.
Aren't these photos terrific? Proper silk purse from a sow's ear stuff! Sooooo guess who found a new photography buddy? Yup, me! These photos were taken by my colleague Helga, who's been studying photography in the evenings and evidently knows a lot about taking decent photos. Ten minutes, a few giggles from passers-by (how embarrassing, but these photos were taken outside a Sydney CBD building, so fair game), all done!
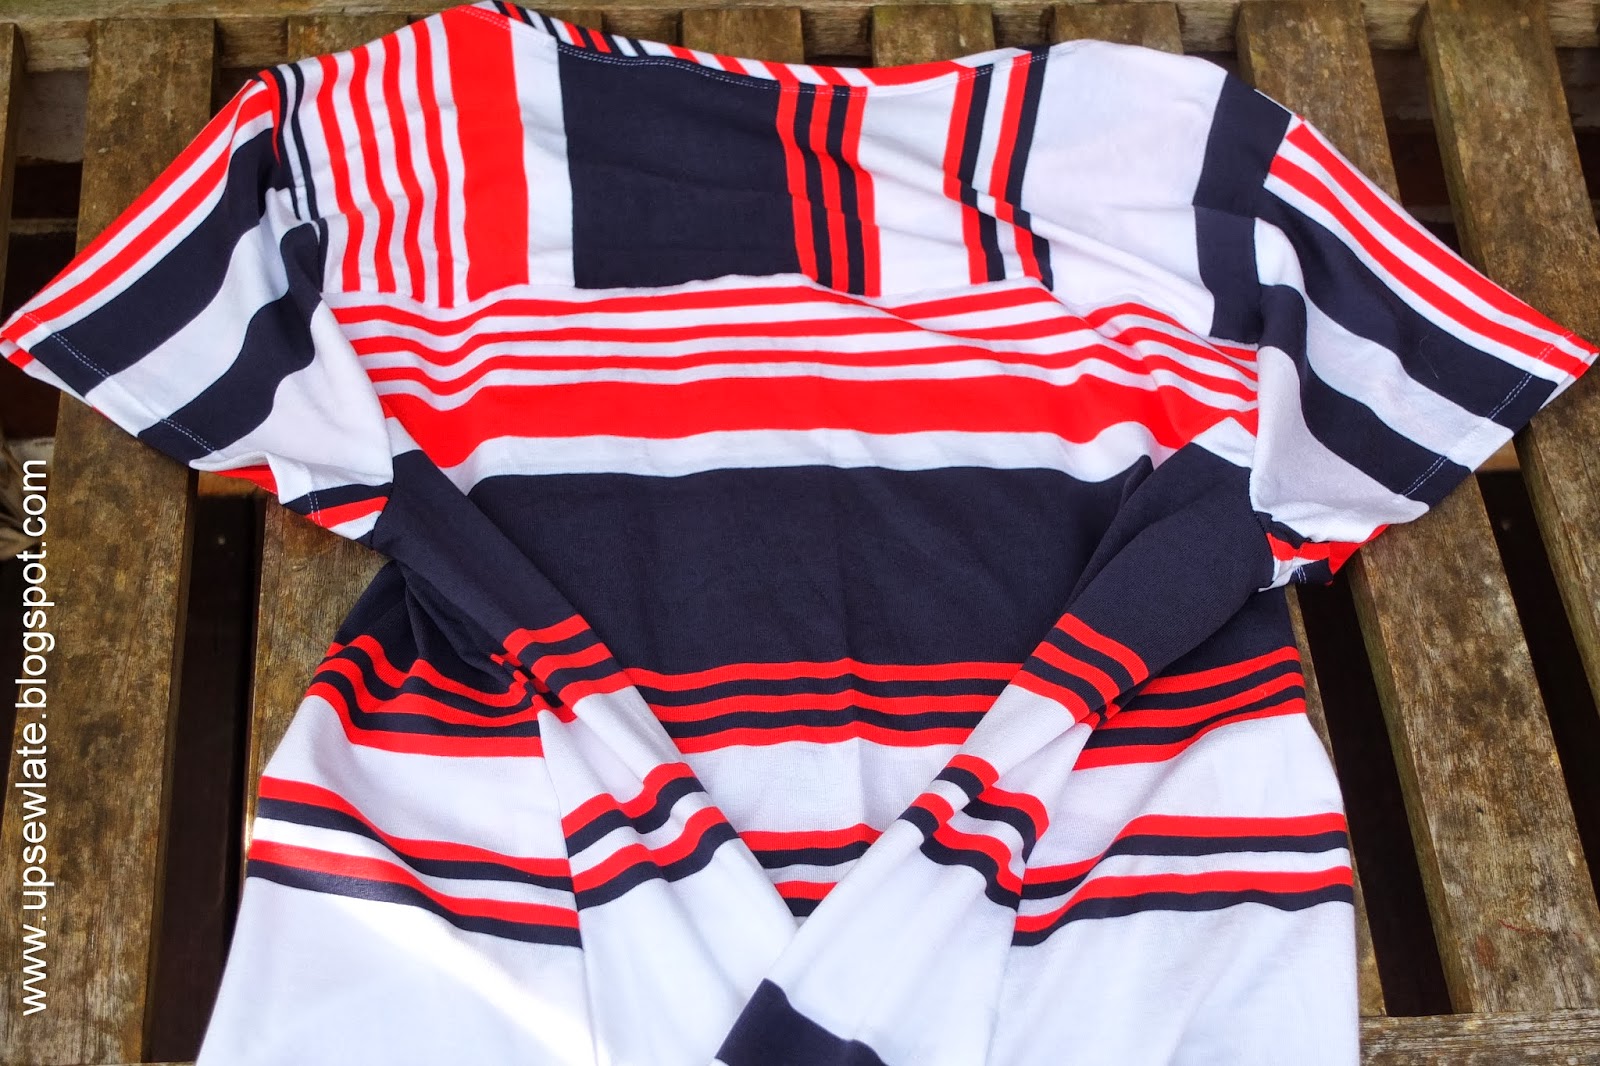
Want some close ups? You got 'em, front and back!
This dress isn't perfect (you only have to look at the close up of the dress back to confirm that) but there's so much about it that I like:
- the neckline, the shoulder shape and coverage
- the godet
- the princess seams
- the shape: fitted at the top, flared at the bottom :)
- the bright colours in the fabric
- the opportunity for a bit of pattern matching in the cutting out stage
- stretchy cotton, yum
- the lack of lining
Onto the sewing details:
The pattern:
Vogue 1360, a Kay Unger design.
I think the shape of my dress is more exaggerated than the dress on the pattern envelope, but more on that below.
The pattern is rated Easy - and it is quite a straightforward pattern for a designer Vogue pattern. The most complex steps relate to sewing in the front godet neatly and keeping the waist seam details aligned horizontally.
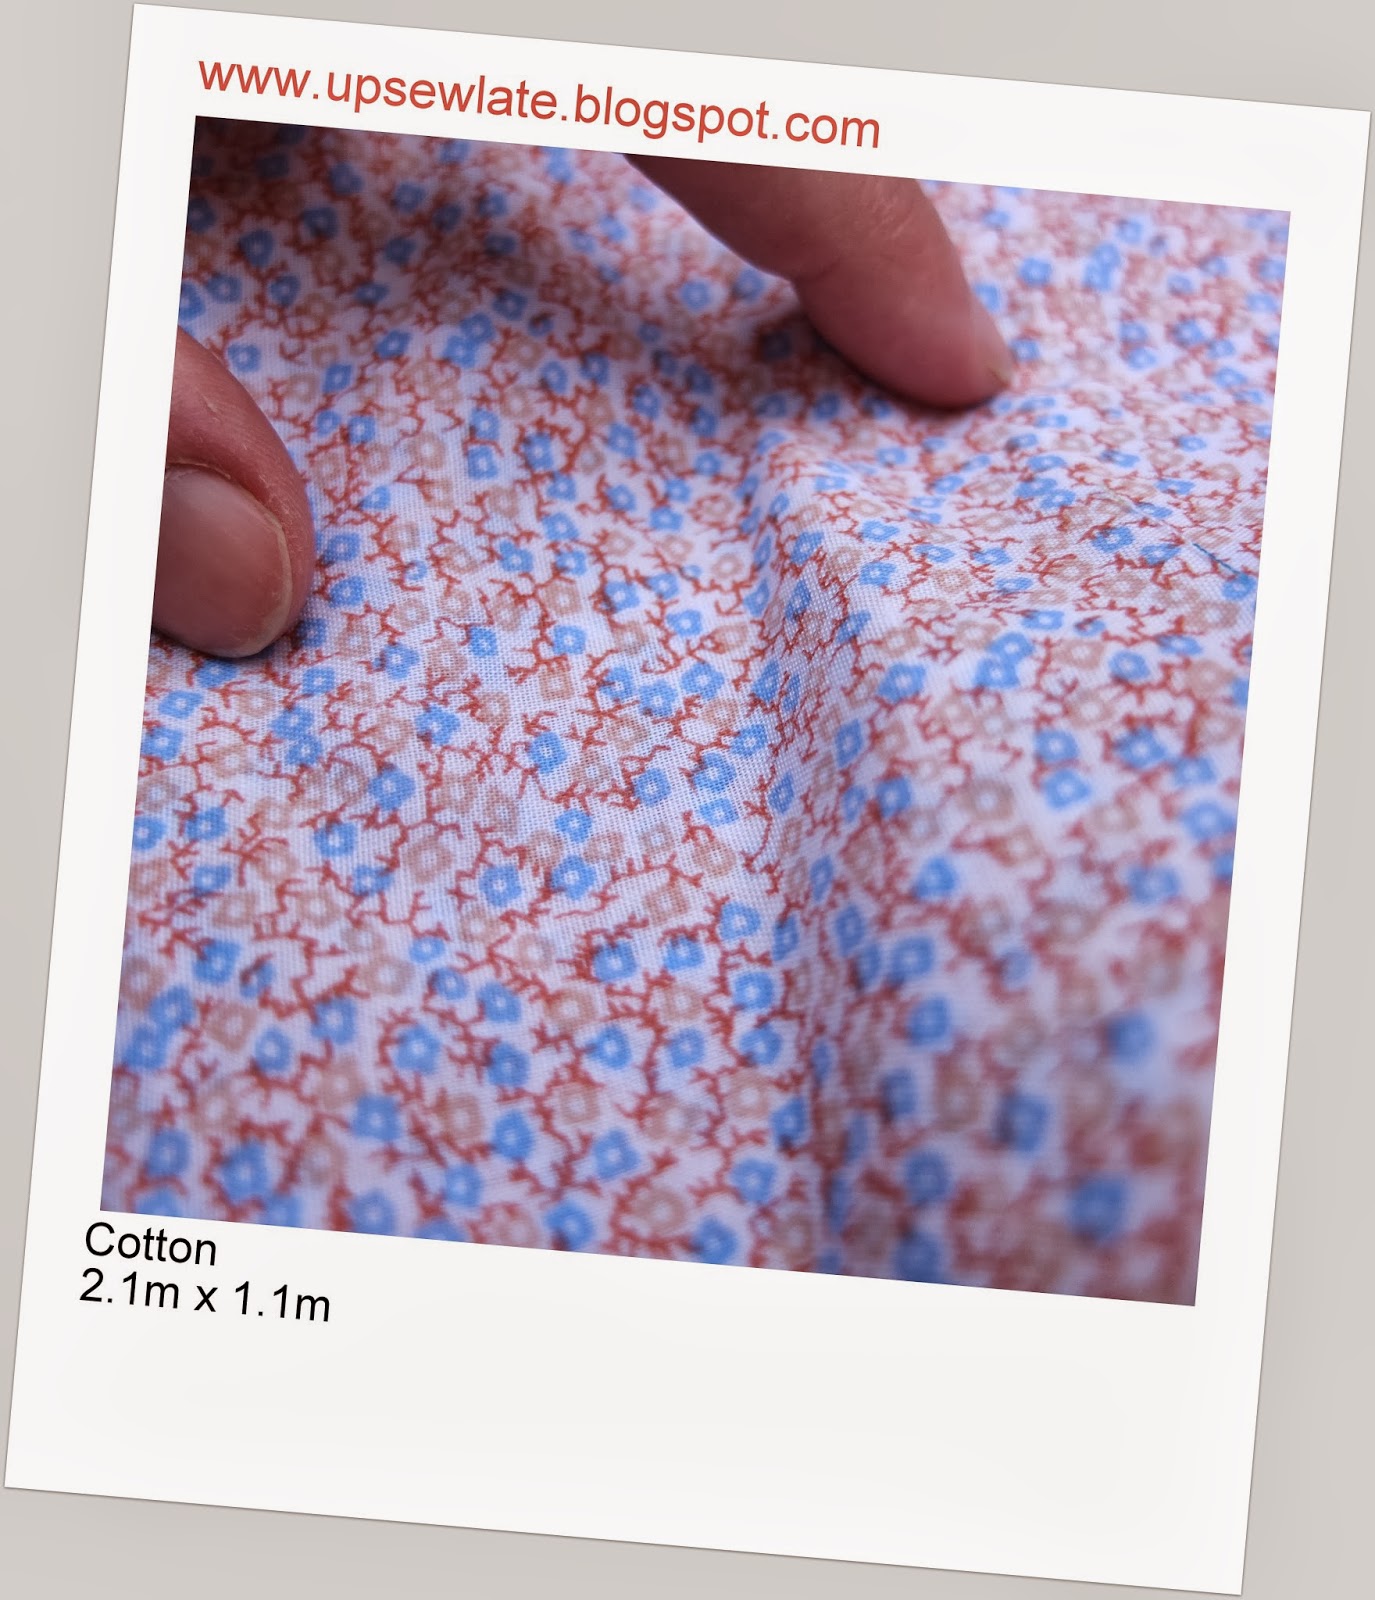
The fabric:
A stretch cotton sateen from Lincraft. The pattern is recommended for moderate stretch fabrics. I bought this fabric because I was putting off sewing something more challenging with a more expensive fabric - oops, add that to the list of crazy justifications for fabric shopping! You only need about 1.5 metres of 150cm wide fabric for this dress unless you have a pattern to match up (I used 2 metres with some pattern matching, but I also made facings and lengthened the dress). Oh, and obvious diagonals are not recommended.
The cost:
My fabric cost $27.58, the pattern was about $6 or $7 including postage (on sale through the Vogue patterns website), and the zip was 50c at an op shop. So all up the dress cost me about $35.
The modifications:
Just a few :). I lengthened the dress by about 5 centimetres (and yet it's still shorter than I'd usually wear a work dress), and instead of a full lining I made facings that mimic the external structure ie seamed at centre front, centre back, and along the princess seam lines. This may not have been a smart move. You can definitely see the shape of the facings through the fabric on the back of the dress. Perhaps this problem would disappear if the upper back was as fitted as the upper front, but without any ease the dress might not be very comfortable.
I also played around with the sizes I used, based on some of
your comments about taking flat measurements of the pattern tissue OR using the finished garment measurements listed on the pattern tissue to determine size. Taking the finished garment measurements as gospel, I took my measurements and cut out accordingly... size 10 across shoulders and high bust, and then size 12 at the full bust. At waist level I chickened out and sewed a size 14 grading to a size 16 on the hips and down, thinking I'd take it in later if necessary. When I tried this on, the fit seemed good if tighter than I'm used to at the bust (please let me know ~gently~ if this is a bad fit!) but there was a lot of ease at the waist and hips which I reduced slightly by re-sewing side seams with a 2cm seam allowance. There was a significant amount of gaposis in the front neckline, so I added a dart in the centre front seam to correct this.
I thought I'd nailed the fit above the waist, but the photos tell me otherwise - the back looks looser than the front, and there's some gaposis in the back neckline; there's also a bit of excess fabric just under the front bodice princess seams near the armholes (
is there a technical term for this area?). The neckline gaposis may have come about through over-handling the fabric when I was sewing the facings entirely by machine. Overall I like the pear-y silhouette that's come from this combination of several sizes, but were I to make the dress again I think I'd stick to a single above-waist size and a single below-waist size.
------
What I've realised from trying to fit this dress is that a single measurement around the body won't necessarily cut the mustard - you really need to know whether your back is relatively broader or narrower than your front, and I guess similarly you need to know whether one side is bigger / higher than the other. Isn't it tricky to think of yourself as an abstract 3D solid (bags be the Klein bottle!)
So, clever readers, any pearls of fitting wisdom to share? When
you measure yourself, do you take a single measurement all the way around, or do you break your measurements at the side seams? And finally, do
your photos ever surprise you when it comes to fit?
See you soon
- Gabrielle x